course#3 -
Restoration and building of
DRY-WALLS USING FIELD
STONES AND LIME
- Special attention was given to the transition between the still good earth
bound wall and the new lime bound layers.
- All loose stones were removed always bearing in mind to safeguard the
existing structure to a maximum.
- The remaining step like structure was well sealed with lime
mixture.
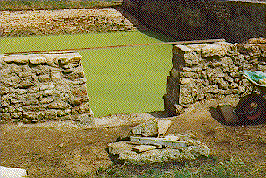
- In the central opening the two walls were completely rebuilt as the
cornerstones were badly damaged by freeze - cracking.
- A huge base plate in the center part was fortunately not damaged and
served as a solid starting point for the two sections of wall.
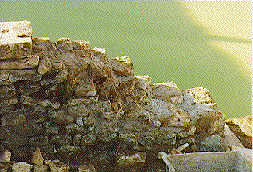
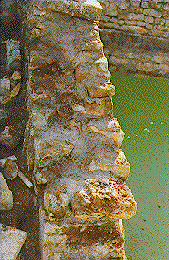
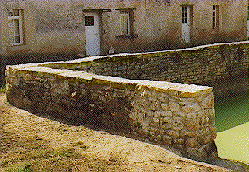
- The following pictures show how big blocks can be placed to obtain a good
fit. This is shown for one of the finishing stones topping off the
wall and it was therefore important to get a horizontal and flat
surface. Being positioned close to the edge it was important to use a
big block forming a key to hold the wall together.
- A fitting stone was found and was placed on the wall without the last
layer below the block finished.
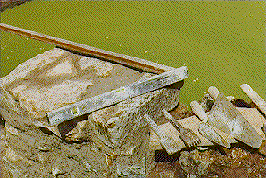
- Holding up the stone in the air in its final position and looking at the
gaps I judged of the material needed to build the bed of the block. The top
surface was in this case indicated by placing a wooden rod in the correct
position. Sticks are more convenient than strings as they are quickly
put out of the way.
- I usually start out by searching a pivot point or a pivot line of the block
which positions it in the correct heights. This by placing 2 to 3 stones which fit on the already finished wall.
- It is then easy to glide in the remaining fitting stones which help to fix
the block in the correct position.
- Lifting the block off again the remaining interstices are filled in. When
the dry wall is finished I always make sure that there is absolutely no
motion possible of the block. To do this I exert pressure on its extreme
positions and try to wiggle it around.
- The finished dry wall is then re-dismantled and immediately resealed by
lifting off stone after stone. The seat of the big block is checked
after every bigger stone.
- I always make sure that I have a resting place for the lifted out block at
similar heights as close as possible from its seat. The block will need to
be lifted off about 5 to 10 times.
- For the final seal I wet the block first and then smear on lime mixture
using the gloves. It is then placed after after having evenly distributed
lime mixture on its seat.
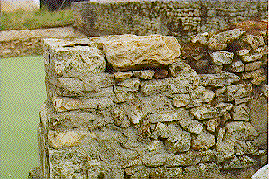
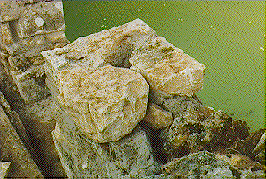
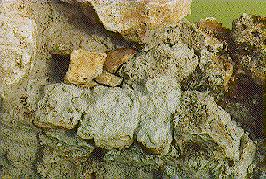
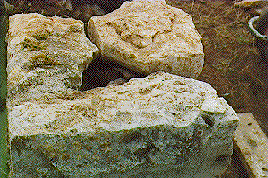
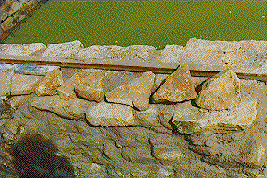
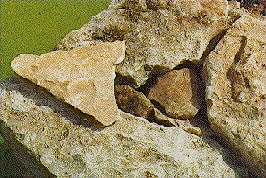
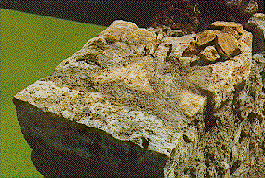
- The middle row of the above pictures show how to finish off the top
surface.
- A triangular hole remained to be filled in this case. And I went for
a hunting tour after triangular stones. I came back with seven candidates
which I lined up according to size as you can see in the central picture.
- The third stone from right gave a good fit and I had now to build up the
interstice below this stone without disturbing its seat. For this I
again used a collection of smaller stones. Of course I always try to
fill as much of the hole with a single stone. You can see from the
right picture that this worked fairly well in this case.
- The triangular stone was finally placed and the finished section of the
wall again checked for horizontal positions and fit with the remaining
walls.
- Some of the stone working tools are shown on the right bottom
picture. The granite chisel is very handy when having to remove a
small piece of a block which prevents a prefect seat. I try to keep
this operation to an absolute minimum however and it was only necessary
about five times when rebuilding the section of the wall shown in the
pictures.

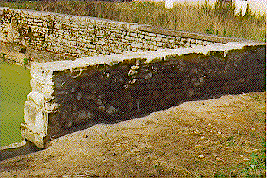
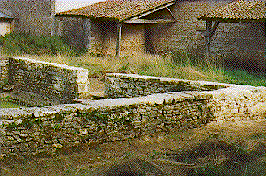
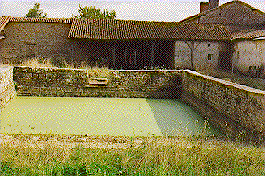
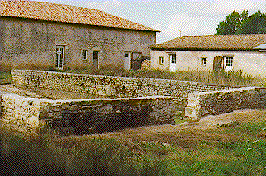
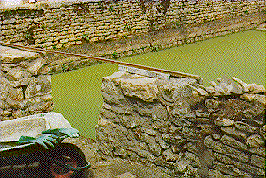
- It is interesting to note that this historic wall was sloped towards
the opening in the back center. The pond is indeed fed on three spots
on the back wall. There are two water channels with a dripping stone
in the corners and the wide opening in the center.
- This opening also serves as a draw-well. The whole court is gently
sloped towards this lowest spot, thus permitting to collect all of the water
falling on the courtyard.


