course#2 -
Installation of Doors and Masonry
NON-DAMAGING MOUNTING
AND LIME
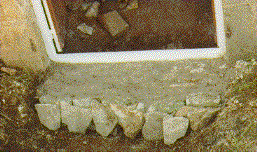
The building is not equipped with gutters and the water drops down in
front of the doors and splash back up onto the doors and walls. This is
why these buildings in the Vienne are usually surrounded by a walkway made of
upright positioned lime stones. This permits to walk around the buildings on the
dry. It also helps to channel the water and keep infiltrations away from the
doors and walls.
- Stone plates of similar dimensions are placed in rows in front of the door
threshold
- Smaller stones are placed on the edges. The intterstices are filled
with smaller stones and not with soil.
- A layer of lime mortar is finally added and well compacted in the
interstices.
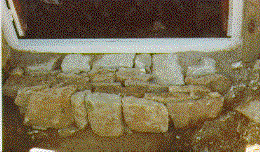
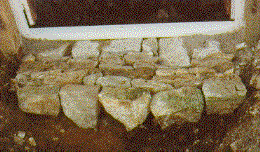
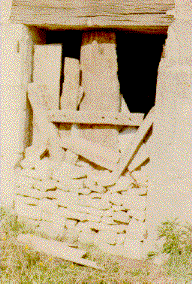
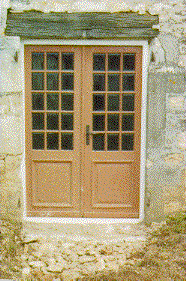
- The following pictures show the same opening before and after the
restoration efforts by the present owner of the castle of Epanvilliers.
Stones must often be reshaped when building a wall or door step and the
following pictures show how to do this.
- The main stones have already been mounted for this door threshold and a
large stone was found which had the right depth and height to fill the major
remaining hole. As this opening had the shape of a reversed L the
block could not be pushed in.
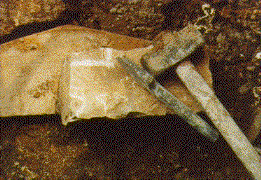
- A small section of the stone had to be removed and this was marked on the
block with the chisel.
- The stone was placed on a wooden board and the direction of the layering
of the stone was registered to follow the longer of the two marks.
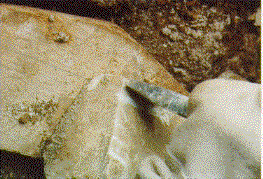
- Using the granite chisel I first made a breach along the shorter
mark. This was done by always placing the chisel very close to the
edge and hitting towards the outside.
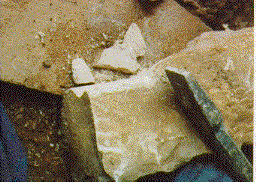
- I then placed the granite chisel as indicated on the third picture.
Note that the cutting edge is placed towards the inside of the stone and
that the chisel is ligthly tilted towards the inside.
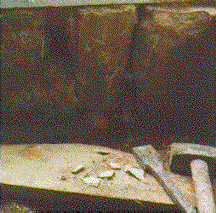
- A solid blow on the chisel removes a large chip straight down. If
not enough material has been removed towards the bottom of the block, it can
be removed with the same chisel by working from top to bottom along the
breaking surface. The cutting edge is placed on this surface and the
chisel is positioned at an angle of about 30 degrees to this surface.
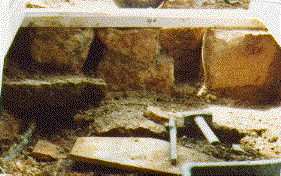
- The block could now be pushed in with a good fit after placing lime mortar
on the surfaces.
- The splinters where used to fix the block solidly, by hitting in fitting
splinters with the hammer.
- All surfaces coming in contact with lime mortar are of course made
wet. The complete wall is finally wet to prepare it for the final
binding with mortar.
- The mortar is violently projected against the interstices and is
furthermore pushed in with the gloves and even the hammer.
- All traces on the wood parts are then carefully removed with a sponge.
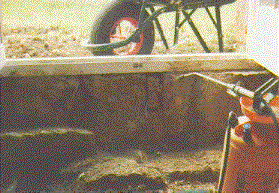
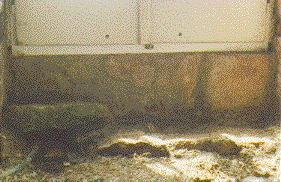
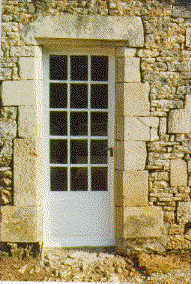
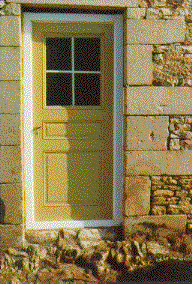
- The following pictures show two of the eight doors which have been mounted
in just one week of very intense put pleasure full work at Epanvilliers
I will be back with more pictures on repairing an
old stone stairs soon. Please visit my guest book or
send me a mail if you have questions or suggestions. Perhaps
you want to give me a hand when I continue my
restoration efforts in july 2000.
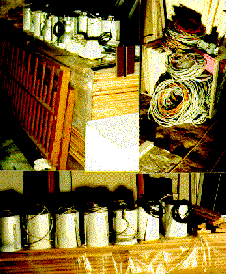
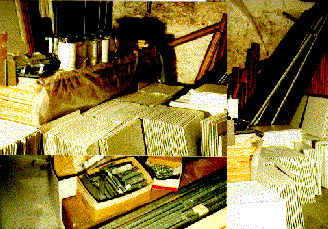
The following pictures show some of the materials which have gratefuly
been sponsored by Novartis and which must be transported
to Epanvilliers and built in.
