course#1 - Wood-work
BLOCK
CONSTRUCTION OF DOOR FRAMES
-
A lot of detail work remains often to be done. The locks must be revised
by carefully opening them and doing a cleaning and greasing job. Fitting
keys must in most cases be found and the keys must very often be adapted by
filing. Again the principle is never to change the existing locks but
rather to do all adjustments on the (new) keys.
-
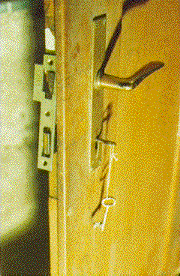
The door frames must finally be equipped with the counter pieces of the locks.
An example which shows the use of the milling tool in hand held operation is
given as an example.

-
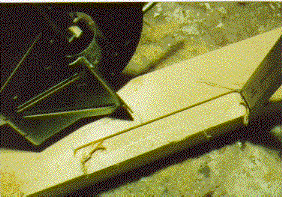
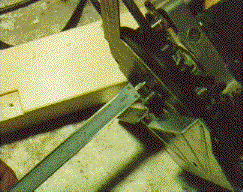
The maximal penetration depth of the milling tool is adjusted with the help of
the piece to be mounted (note that the plug is always pulled when doing such
operations).
-
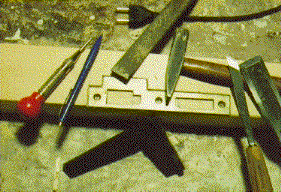
The contour of the necessary cuts are traced on the wooden frame using the
fitting.
-
I removed the depth - springs from the top mill setup in order to get more feel
in to this rather delicate operation. Guides must in all cases be used to
guide the cut as much as possible.
-
Always make sure that the power switch is turned towards you and only switch on
with the tool correctly in place but in raised position. Power down as
soon as the cut is finished with the tool still in place. Never lift of
the tool with the tool still turning. The remove the tool and pull the
plug.
-
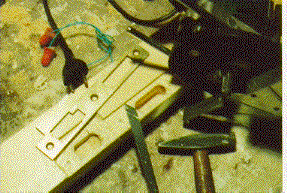
The cut has to be straightened out using a very sharp chisel and hammer.

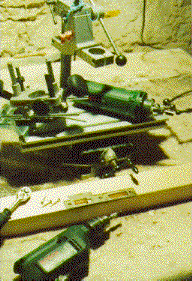
The fitting is fit into the new groove and the mounting holes are
pre-punched.
The mill is then adjusted for the deeper cut and these cuts are done
(please note the earplugs which are worn during all milling
operations). The fitting is finally mounted with a power drill using
self cutting screws (picture above). The final tightening of the screws is
always done by hand using a wrench.
-
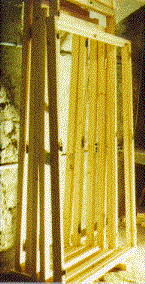
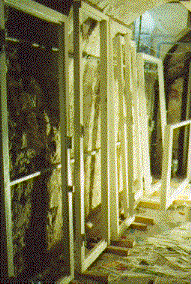
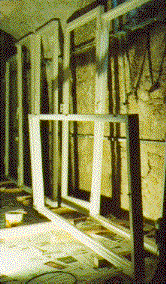
The finished frames are once more controlled for fit of the doors and
imperfections are removed with chisels and planers. Holes are filled with
a paste prepared from saw dust and epoxy and are sanded after drying. The
frames are sanded with a Bosch vibrating plate sanding tool.
-
The frames are painted three times with a long duration white paint. White
has the immense advantage that no color matching is necessary during the regular
upkeep. Any other solution would quickly turn into a nightmare when
considering the over 300 doors and windows contained on the castle of
Epanvilliers and it's commons buildings!
-
A first layer of attaching paint diluted by 20% added turpentine is added
first. 4 hours drying time is always respected for all layers. All
painting is done with good quality brushes and no paint spraying is ever used as
less resistant to weathering. It is important to well work the paint into
the wooden material and evenly distribute the paint.
-
The frames are lightly sanded after this first layer using the Bosch tool.
-
A second layer of attaching paint is added and after sanding if necessary a
third layer of brilliant final paint is added (brilliant is more weather
resistant than mat!). An even distribution is achieved by first performing
a rapid stroke along the full length to deposit the paint. This paint is
then reworked and distributed in long and even strokes along the beams.
-
The frames are left for drying at least 36 hours before any transport or
handling.
-
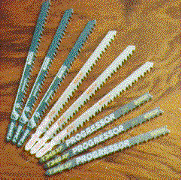
Course #2 on door frame mounting and masonry also
shows how the material was moved to the castle. This last picture shows a
collection of specially long pendulum saw blades by Bosch, which were kindly
sponsored by Stefan Jeiziner of Bosch Corp. in Graechen, Switzerland.
